Land Survey
Summary
Land Survey
Summary
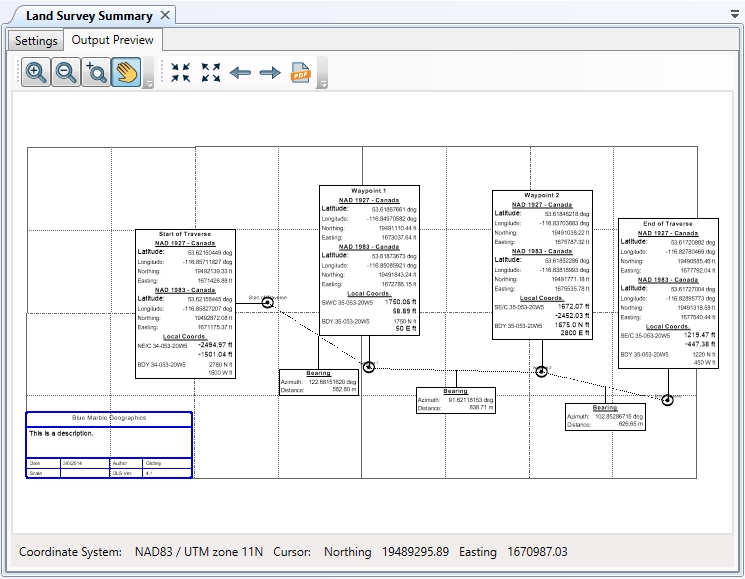
The Land Survey Summary Job enables a user to load a dataset of point values formatted for a Land Survey Coordinate System and to then process it, generating a complement of geodesic and projected information about each point in the list. A summary of the results will then be available for preview and printing.
Create a new Land Survey Summary job using one of these methods:
- Select the option from the Start Page
- Right-click in the Project Manager and select Create New Job > Land Survey Summary
- Go to File>New>Job >Land Survey Summary
- Click on the button on the toolbar.
Once you have your new job created:
-
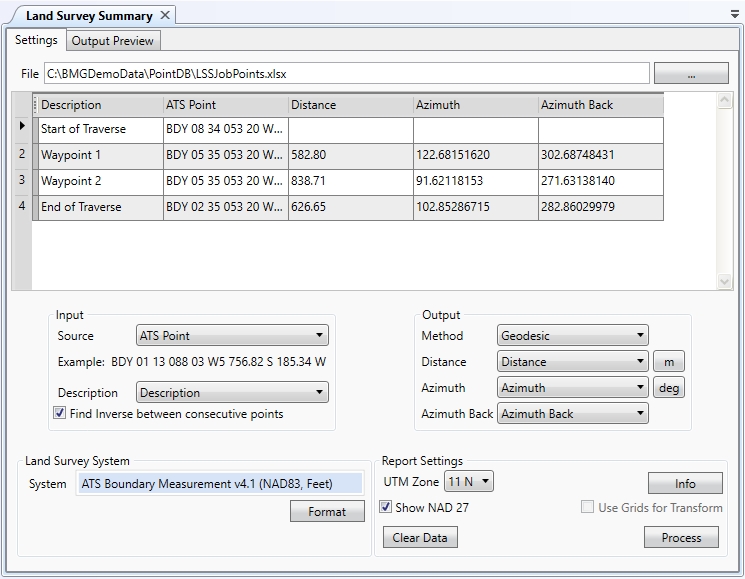
Load a database file containing point values formatted for a Land Survey Coordinate System by clicking the "..." button in the Input Data area at the top of the job window. This will prompt you to select a file of one of the supported formats.
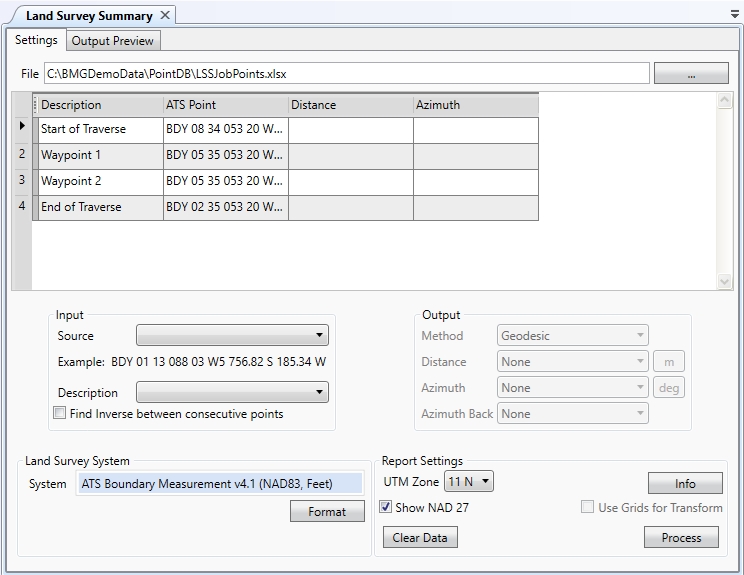
- Select the columns that contain the input and the columns that will receive the output.
- Select an appropriate Land Survey System for your data.
- Use the Format button to setup the DLS Descriptions.
-
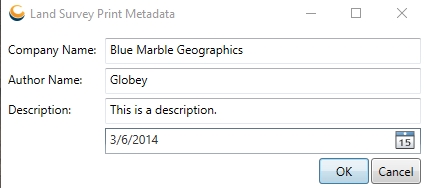
Click the Info button in the Report Settings panel to set a Company Name, Author Name, Description and Date for the Summary report, if desired.
-
If the Land Survey System is based on NAD 27 and there is a NAD 83 variation, a checkbox will be enabled in the Report Settings panel to Show NAD 83.
If the input Land Survey System is based on NAD 83 and there is a NAD 27 variation (NAD27 Boundary measurements are not part of default datasource, so they must be downloaded for this option to be available), the checkbox will be Show NAD 27.
If either checkbox is checked, the Report will provide data in both the input system and the alternate.
In this case, you may also choose to check the Use Grids for Datum Transformation checkbox. If this is checked, the data conversion between NAD 27 and NAD 83 will be performed using the implied datum transformation from the definition of the ATS grid files. Otherwise, the conversion will use an appropriate Canadian National Transformation v2.
- Click the Process button. Values will be read from the input columns for each row in the table, converted, and written to the specified output columns. These will display in the grid on the Settings page.
- Continue to Printing a Land Survey Summary
Example