Create Arc Area
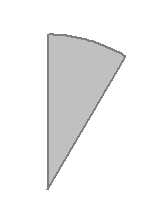
An arc area is a section of a circular area feature, similar to a pie piece.
To create an arc area, select the Create Arc Area option from the Digitizer right-click context menu or top-level Digitizer menu under Create Area/Polygon Features
After selected the Create Arc Area option from the right-click menu,
the Specify Range of Arc (below) dialog will display. In this dialog
you can specify the range for the Arc Area, the Start and Swept Angle
and choose the option to Manually Draw Extents of Arc or Draw Arc at Fixed
Radius from Center point.
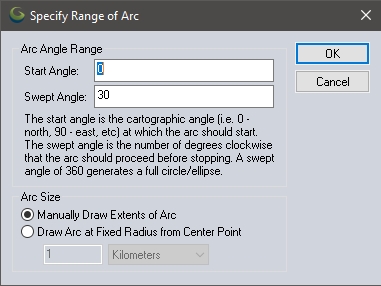
Start Angle - Specify the bearing at which to measure out from the anchor point.
Swept Angle - Specify the angle of the arc, that is how many degrees of the circle it will sweep from the start angle.
Arc Size - There two options for determining the distance of the sides of the arc. Choose the Manually Draw Extents of Arc option to click and drag on the map to dynamically size the arc area. Or specify a distance in Draw Arc at Fixed Radius from Center Point to define the length of the sides of the arc.
Once you hit 'OK' the Digitizer cursor will show the  area cursor. Left-click
and hold the left mouse button at the center of the feature, then drag
it until the new area feature is of the desired shape to manually draw the extent. If a fix radius was chosen, just left-click on the map to specify the origin of the arc area. Once the shape
is finished, release the left mouse button and the Modify Feature Info dialog will
appear to specify the label, classification, drawing style,
and attribution for the new feature. See Editing
Feature Attributes and Drawing Styles for more details.
area cursor. Left-click
and hold the left mouse button at the center of the feature, then drag
it until the new area feature is of the desired shape to manually draw the extent. If a fix radius was chosen, just left-click on the map to specify the origin of the arc area. Once the shape
is finished, release the left mouse button and the Modify Feature Info dialog will
appear to specify the label, classification, drawing style,
and attribution for the new feature. See Editing
Feature Attributes and Drawing Styles for more details.
Once the shape is completed, the Digitizer Tool will remain in the selected shape creation mode. Left click to start drawing a new arc area, or right-click or press ESC to choose a different mode.