Saving Data
Save Points to a Point Database file
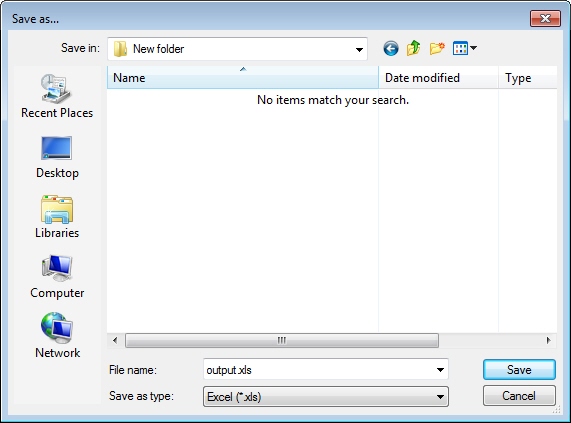
To save data after conversion in the Point Database tab of the Geographic Calculator, click the Save button. The format you choose for output can be any appropriate file type. Once you have selected your output format and named the output file, click Save.
Note: The Microsoft Excel file type can only support up to 65,000 rows of data. Attempting to save more than 65,000 rows of data to an Excel file will produce an unusable file.
Save Points to Vector Format
The Geographic Calculator allows you to save a point file as vector files. With a data table already loaded into the Point Database Conversion job, to save a Point File to vector format:
-
In the Point Database Conversions tab, click the Save button. With the Type set to File, click the Browse (...) button.
-
Select one of the vector formats in the Save as Type drop down box. Vector formats include Esri Shape (*.shp), Esri ArcInfo Generate (*.gen), AutoCAD (*.dxf/*.dwg), MapInfo Table (*.tab), MapInfo Interchange (*.mif), MicroStation Design (*.dgn), GML - Simple Features (*.gml), GPS Exchange Format (*.gpx), and Keyhole Markup Language (*.kml).
-
Choose an output location, name the output file, and click Save.
The Export Settings dialog will appear.
-
Select the appropriate Coordinate System(the display defaults to the Output Coordinate System Definition in the Point Database Conversions tab). If you are saving to a Geodetic coordinate system, the format of the saved coordinates will match the right format that you set for the conversion. See Format for more information.
-
In the Northing or Latitude (label depends on settings from Step 3 above) drop down box, assign the appropriate column name. The display defaults to the output northing or latitude column.
-
In the Easting or Longitude (label depends on settings from Step 3 above) drop down box, assign the appropriate column name. The display defaults to the output easting or longitude column.

-
If Display Output File In ArcMap checkbox is checked (ArcMap must be open and Esri Shapefile output chosen), the output file will be saved and then added to the ArcMap data frame.
-
Click OK. The file will be created at the location specified. You can then display the file using the Viewer.
Save Points to ODBC
The Geographic Calculator allows you to save a point file to database tables via ODBC. With a data table already loaded into the Point Database Conversion job, to save a Point File to an ODBC table:
-
In the Point Database Conversions tab, click the Save button. With the Type set to ODBC, click the Browse (...) button.
-
Choose an appropriate DNS, and provide any required connection information, as well as a destination table in which to save the data. Then click OK.
-
Back on the Select Data dialog, click OK to save the data.
Save Points to a Spatial Database
The Geographic Calculator allows you to save a point file as a spatial database table.