 Performing
Seismic Survey Conversions
To create a new Seismic Survey Conversion job, you can:
- Right-click in the Project Manager and select Create New Job>>Seismic Survey Conversion
- Go to File>New>Job>Seismic Survey Conversion
- Click
on the
 button on the tool bar.
Once you have your new job created:
-
Click the "..." button in the Input Data area to load your data file.

-
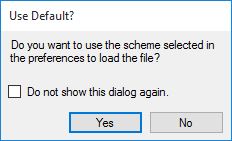
You will be able to browse for any of the allowed Read Formats. Once you have selected a file, a dialog will appear asking "Do you want to use the scheme selected in the Preferences to load the file?"

-
Click "Yes" to open the selected file using the default scheme for whichever format is being used. Click "No" to change various aspects of the default scheme to handle the specific formatting of your file.
-
Once the file has been selected and loaded, the data will be displayed in the Data Grid

With P1/11 data, rows will display shaded based on the data type. If they contain Receiver data (such as those above with "R" in the first column) while rows that contain Shotpoint data (such as those with "V," "S," "C," or "T" in the first column) will be displayed without shading.

The data in the grid cannot be edited by the user, nor can the columns be altered, except to resize the columns in the display, or hide them. Right-click on the column names to hide columns.
-
If you wish to remove the data from the grid and start over, you can click Clear Data. This will remove all data from the grid and the Input Data field.
-
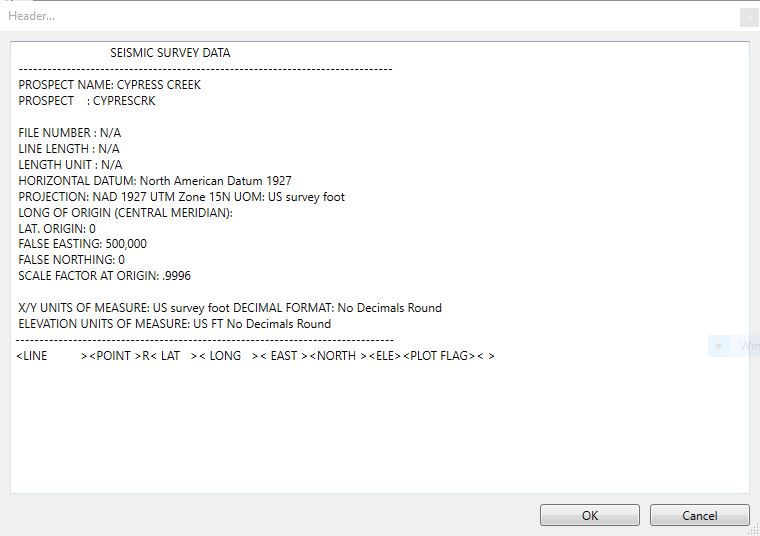
To view the header information, click Header. This will display the current Header for reference.

-
Select your Source and Target Point coordinate systems. Note that the Output Projected Coordinate System and Output Geodetic Coordinate System must be on the same datum. If the Projected Coordinate System is changed, the Geodetic Coordinate System will be updated to match.
-
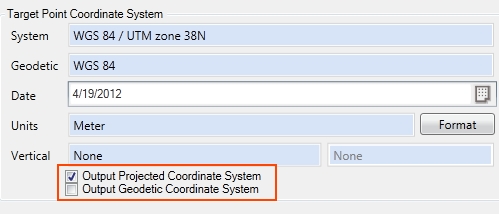
Note that there are two output coordinate systems: projected and geodetic. Use one or both depending on whether the file being processed contains columns with projected and/ or geodetic data. To enable conversion to one or both you must check the box next to the desired coordinate system. In the following case, for example, the projected data (Eastings and Northings) will be converted, but geodetic (Latitude and Longitude) data will remain unchanged.

-
Use the Format buttons to select the display format for your input and output coordinates. This is very important for angular units.
-
If you select input and output coordinate systems that are based on different Datums, you will need to select a Coordinate Transformation. If you do not, when you click the Process button, you will be prompted to do so.
-
In the Output Data area, select the desired type, then click the "..." button to specify an output file. Data may only be output to a format in the same family as the input. For more information on creating a variant seismic survey format by copying an existing schema, see Seismic Survey Formats

-
Click the Preview button to preview the processed data. This will perform the conversion and update the appropriate columns in the data grid, but will not save the data to the output file. If you alter the current settings and click Preview again, please note that the conversion will use the original data, not the "Preview" data in the updated Data Grid.
-
Click the Process button to process the data. This will perform the conversion and update the appropriate columns in the data grid, and will also save the updated data to the specified output file.