Spatial Database Export Options
Use the Spatial Database Export Options dialog to specify the table name(s) and data extents to be used for this data export. A spatial database table is restricted to a single geometry type. This dialog specifies table names for polygon, line, and point geometries based on the data types that are currently in the display.
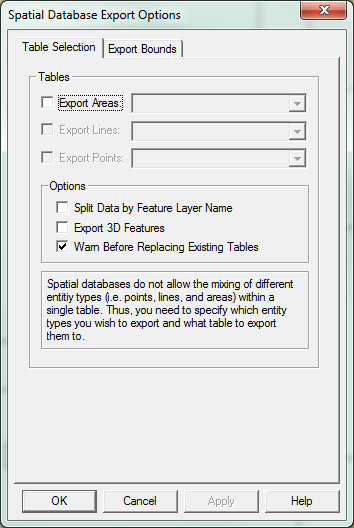
On the Table Selection tab for vector data export, specify a table name for each of the data types that are currently loaded in Global Mapper.
Note that if you choose an existing table, the data in that table will be replaced with the data loaded in Global Mapper.
-
To export polygon features, check the Export Areas box, and enter a table name in associated entry field. To export data to an existing table, choose the name from the drop-down list.
-
To export line features, check the Export Lines box, and enter a table name in associated entry field. To export data to an existing table, choose the name from the drop-down list.
-
To export point features, check the Export Points box, and enter a table name in associated entry field. To an existing table, choose the name from the drop-down list.
Place a check next to Split Data by Feature Layer Name to export data into a separate table for each non-hidden layer currently loaded. When this option is selected and the table name is blank, and Global Mapper will create a table name from each exported layer name (with invalid characters removed). If a table name is specified, that name will become a prefix, and the layer name will be added to it. In the case where a layer contains more than one geometry type, a separate table will be created for each geometry type, and the name will have a suffix indicating its geometry type.
Check the Export 3D Features option to export data with elevation values. Elevation data will be taken from the layer being exported, and placed in the output feature vertices. If the exported layer does not contain elevation data, the output feature vertices will have their elevation set to 0. Exporting 3D features is currently supported only for Esri file and personal geodatabases.
Place a check next to Warn Before Replacing Existing Tables to be notified when choosing a table that already exists. There will be an option to replace the existing table or specify a new table name.
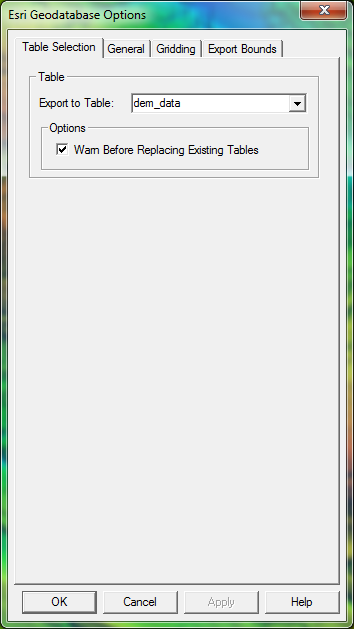
On the Table Selection tab for elevation or raster imagery export, specify a table name where the data will be stored. Note that if an existing table is chosen, the data in that table will be replaced with the data in the viewer.
Enter a table name in the Export to Table field. If you want to export data to an existing table, choose the name from the drop-down list.
Place a check next to Warn Before Replacing Existing Tables to be notified when you choose a table that already exists. You can choose whether to replace the existing table or specify a new table name.
Use the Export Bounds tab to define the extent of the data to export.
Once the table names and data extents are chosen, click the OK button to export the data to the database tables.
The Cancel button quits the process of exporting data to a spatial database.
The Help button displays the Global Mapper help for this dialog.